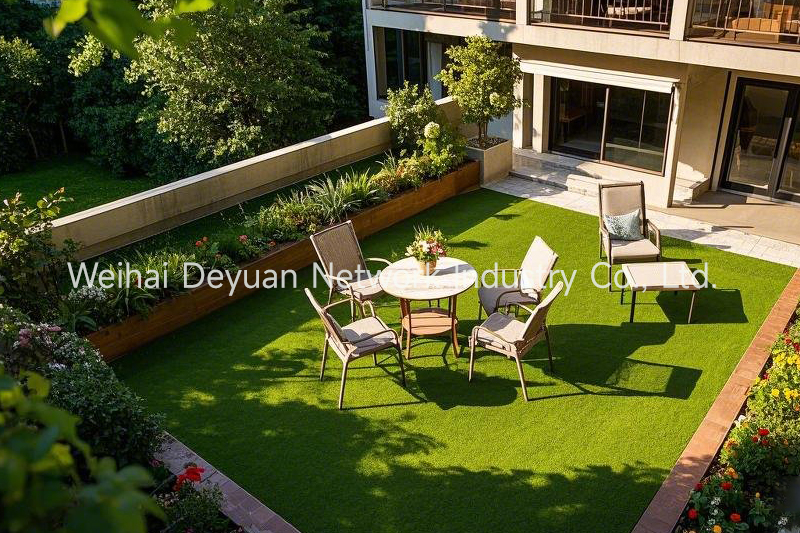
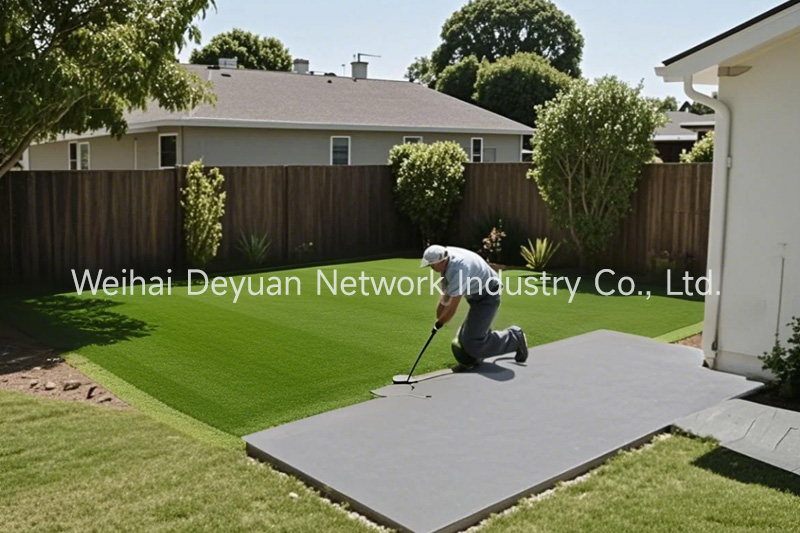
Typically, artificial grass is installed to replace an existing garden lawn. But it’s also great for transforming old, tired concrete patios and paths.
Although we always recommend using a professional to install your artificial grass, you may be surprised to find out just how easy it is to install artificial grass on concrete.
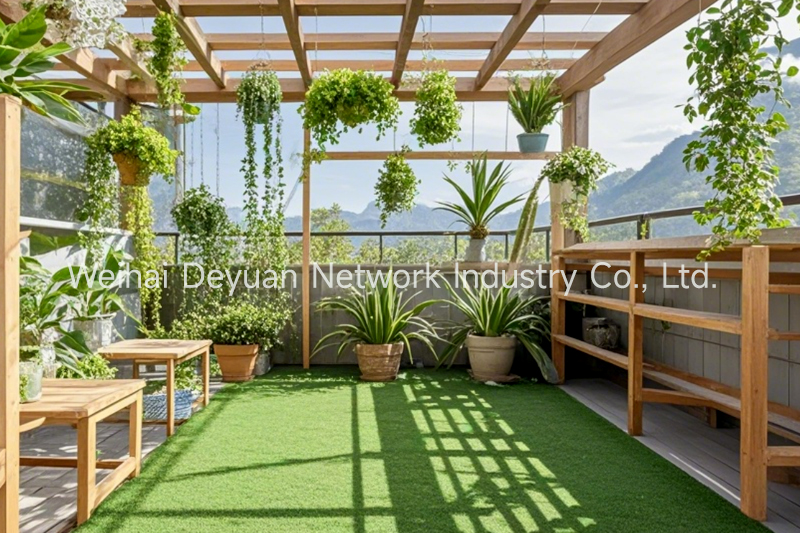
There’s a whole host of benefits with artificial grass, too – it’s very low maintenance, there’s no mud and mess, and it’s perfect for kids and pets.
Because of this, many people are choosing to transform their gardens with artificial turf.
There are many different artificial grass applications, the obvious one being a simple lawn replacement in a residential garden. But other uses can include schools and playgrounds, sports pitches, golf putting greens, events and exhibitions, and artificial grass can also be installed inside the home, where it can make for a great feature in children’s bedrooms, for example!
As you might expect, each application requires different installation methods and techniques – there is no one-size-fits-all recommendation.
The correct method will, of course, depend upon the application.
Artificial grass can be installed on top of plain old concrete, block paving and even patio paving slabs.
In this guide, we are going to be discussing how to install artificial grass on concrete and paving.
We’ll look at how to prepare the existing concrete ready for installation, the tools you’ll need to carry out the job, and give you a handy step-by-step guide explaining exactly how to carry out the installation.
But to start, let’s look at some of the benefits of installing artificial grass on concrete.
What are the Benefits of Installing Artificial Grass on Concrete?
Brighten Up Old, Tired Concrete and Paving
Let’s face it, concrete isn’t exactly the most attractive looking surface, is it?
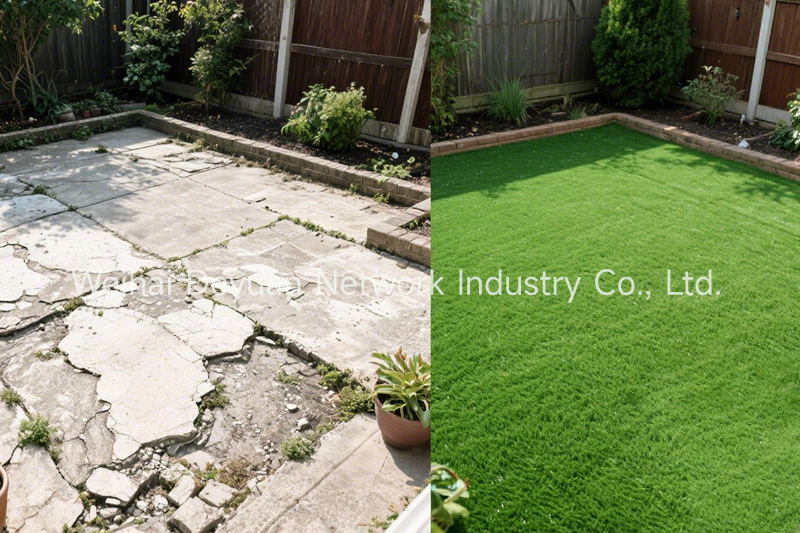
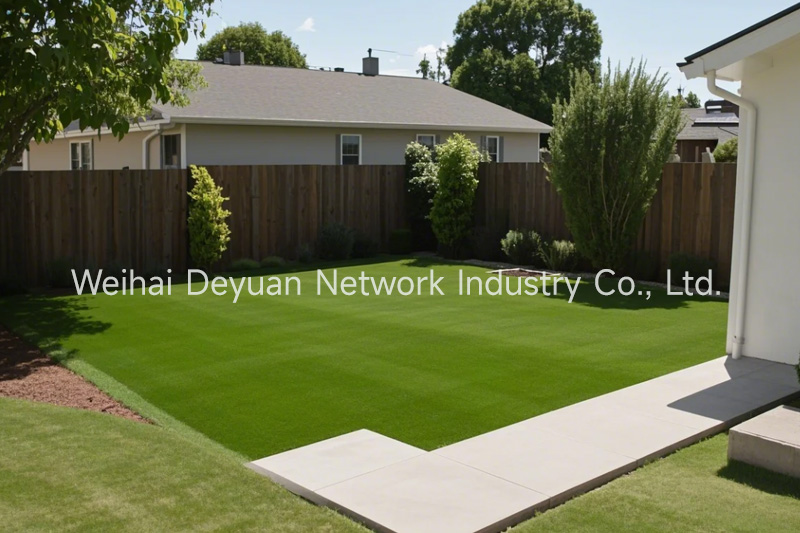
In most instances, concrete can look quite unattractive in a garden. However, artificial grass will transform your tired looking concrete into a beautiful lush, green lawn.
Most people will agree that a garden is supposed to be green, but it’s understandable that lots of people choose not to have a real lawn due to the maintenance, mud and mess that’s involved.
However, this doesn’t mean that you shouldn’t be able to have a lawn.
There is very little maintenance involved with artificial grass and, when installed correctly, it should last up to twenty years.
You’ll be surprised by the transformation that fake grass can make to your garden.
Create a Non-Slip Surface
When wet or icy, concrete can be a very slippery surface to walk on.
Moss growth and other plant organisms are a common problem on stone, concrete, and other surfaces that remain shaded and fairly moist throughout the day.
This can also cause the concrete in your garden to become slippery, again making it dangerous to walk on.
For those with young children or those who aren’t quite as spritely as they used to be, this can be a real hazard.
However, artificial grass on concrete will provide a completely non-slip surface that, when properly maintained, will be completely free from moss growth.
And unlike concrete, it will not freeze – preventing your patio or path from turning into an ice rink.
Important Considerations Before Installing Artificial Grass Onto Concrete
Before we go ahead and show you step-by-step how to install fake grass on concrete, there are a few things that you’ll need to check:
Is Your Concrete Suitable?
Unfortunately, not all concrete is suitable for the installation of artificial grass.
You’ll need the concrete to be in a reasonable condition; you can have the best artificial grass money can buy, but the secret to long-lasting artificial grass is to lay it on a solid foundation.
If there are large cracks running through your concrete, which have caused sections of it to lift and come loose, then it’s highly unlikely that installing artificial grass directly onto it will be possible.
If this is the case, it is strongly advised that you break out the existing concrete and follow the procedure for a typical artificial grass installation.
However, minor cracks and undulations can be rectified, using a self-levelling compound.
Self-levelling compounds can be purchased from your local DIY stores and are very easy to install, with the majority of products just requiring you to add water.
If your concrete is stable and relatively flat then, in most cases, it will be fine to proceed with the installation.
You just need to use your common sense when assessing whether to install artificial grass on concrete, and remember that it will need to be safe to walk on.
If your surface is unsmooth and has minor imperfections, a foam underlay will cover these without a problem.
If areas of concrete have become loose or ‘rocky’ underfoot then you’ll need to remove the concrete and install an MOT Type 1 sub-base and follow the standard artificial grass installation method.
Our handy infographic will show you how to do this.
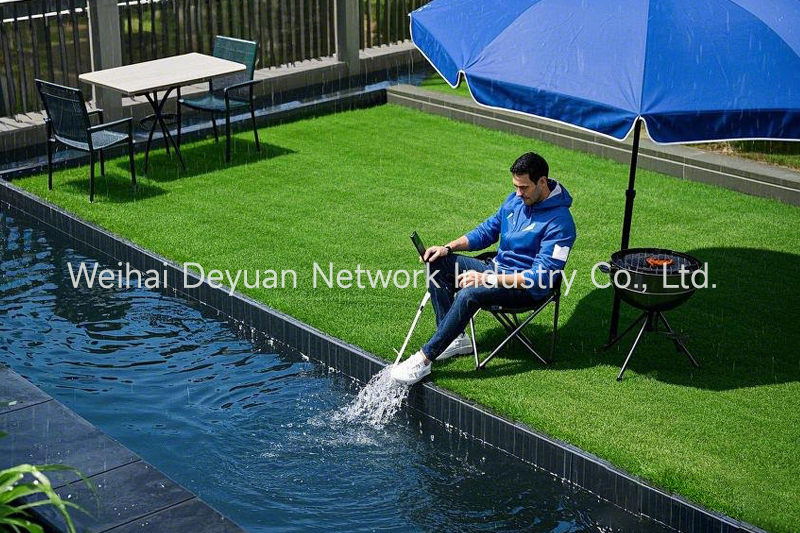
Ensure You’ll Have Adequate Drainage
It’s always important to consider drainage.
Once the installation is complete, the last thing you want is water sitting on the surface of your new artificial lawn.
Ideally, there will be a slight fall on your concrete that will allow water to run off.
However, your existing concrete may not be perfectly flat, and you may have noticed that puddles appear in certain areas.
You can test this by hosing it down and checking to see if water sits anywhere.
If it does, it isn’t a major issue, but you’ll need to drill some drainage holes.
We advise using a 16mm bit to drill holes where any puddles form, then, fill these holes with 10mm shingle.
This will prevent puddling on your new fake grass.
Laying Artificial Grass on Uneven Concrete
When laying artificial grass on uneven concrete – or any concrete, for that matter – a vital part of the installation process is to install an artificial grass foam underlay.
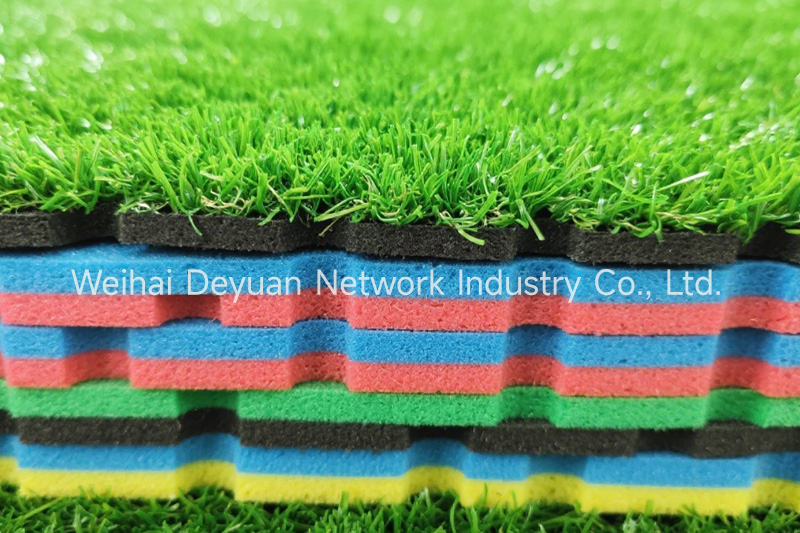
There are several reasons for installing a fake grass shockpad.
Firstly, it will provide a softer lawn underfoot.
Even though artificial grass is generally soft to the touch, when you place it on top of concrete or paving the grass will still feel relatively hard underfoot.
If you were to fall, you would certainly feel the impact on landing. However, installing a foam underlay will feel much better underfoot and much more like a real lawn.
In some instances, such as in school playgrounds, where there is the potential for children to fall from height, a shockpad is required by law.
Therefore, you can rest assured that installing a fake lawn underlay will ensure that your newly installed artificial lawn will provide a safe environment for all the family to enjoy.
Another very good reason for using artificial grass foam is that it will hide ridges and cracks in your existing concrete.
If you were to install your fake grass directly on top of concrete, once it lay flat it would mirror the undulations in the surface below.
Therefore, if there were any ridges or minor cracks in your concrete, you would see these through your artificial lawn.
It’s very rare for concrete to be perfectly smooth and therefore we always recommend using a foam underlay.
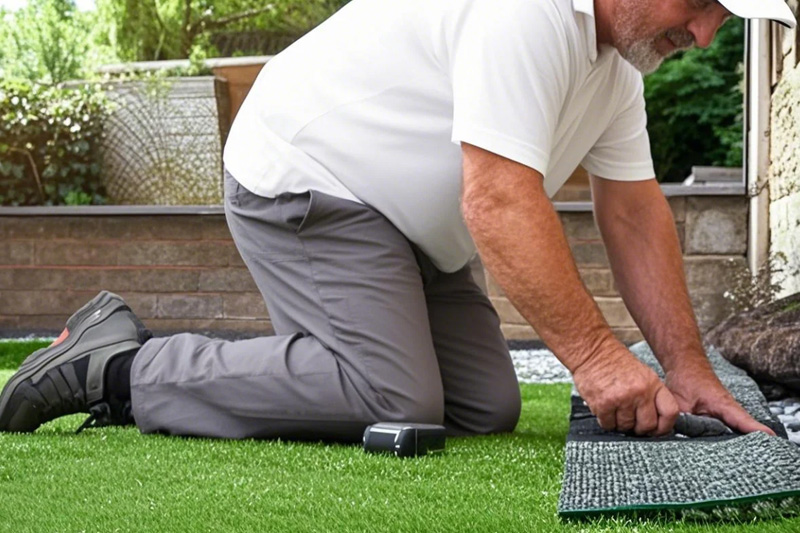
How to Install Artificial Grass on Concrete
We always advise using a professional to install artificial grass, as their experience will result in a better finish.
However, it is reasonably quick and easy to install artificial grass on concrete and if you have some DIY ability, you should be able to carry out an installation yourself.
Below you’ll find our step-by-step guide to help you along the way.
Essential Tools
Before we dive in with our step-by-step guide, let’s take a look at some of the tools that you’ll need to install artificial grass on concrete:
Stiff broom.
Garden hose.
Stanley knife (along with lots of sharp blades).
A filling knife or striping knife (to spread artificial grass adhesive).
Useful Tools
Although these tools are not essential, they will make the job (and your life) easier:
A jet wash.
A drill and paddle mixer (to mix artificial grass adhesive).
Materials You’ll Need
You’ll also need to make sure you have the following materials ready before you begin:
Artificial grass – your chosen artificial grass, in either 2m or 4m widths, depending on the size of your new lawn.
Foam underlay – this comes in 2m widths.
Gaffer tape – to secure each piece of foam underlay.
Artificial grass glue – rather than using tubes of artificial grass glue, due to the quantities you will most likely require, we recommend using tubs of either 5kg or 10kg two-part multi-purpose adhesive.
Joining tape – for the artificial grass, if joints are necessary.
To calculate the quantities of glue required, you’ll need to measure the perimeter of your lawn in metres, and then multiply it by 2 (as you’ll need to glue the foam to the concrete and the grass to the foam).
Next, measure the length of any joints required. This time, you only need to allow to glue the artificial grass joints together. Gluing the foam joints is not necessary (that’s what the gaffer tape is for).
Once you have calculated the total meterage required, you can work out how many tubs you’ll need.
A 5kg tub will cover approximately 12m, spread at a width of 300mm. A 10kg tub will therefore cover approximately 24m.
Now that you have the necessary tools and materials, we can begin the installation.
Step 1 – Clean Existing Concrete
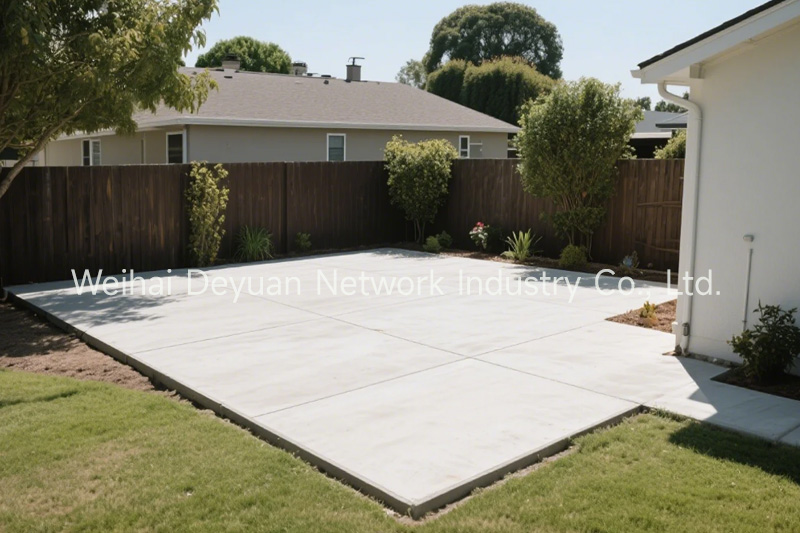
Firstly, you’ll need to prepare the existing concrete.
As explained earlier in the article, in some exceptional circumstances, you may need to apply a self-levelling compound – for example, if you have large cracks (over 20mm) in your existing concrete.
However, in most cases a foam underlay will be all that’s needed to go under your grass.
Before this is installed, we strongly recommend thoroughly cleaning the concrete so the artificial grass adhesive will properly bond with the concrete.
It’s also a good idea to remove moss and weeds. If weeds are a problem with your existing concrete, we recommend applying a weedkiller。
Your concrete can be hosed and/or brushed with a stiff broom. Although not essential, a jet wash will make light work of this stage.
Once clean, you’ll need to allow the concrete to completely dry out before moving on to the next step.
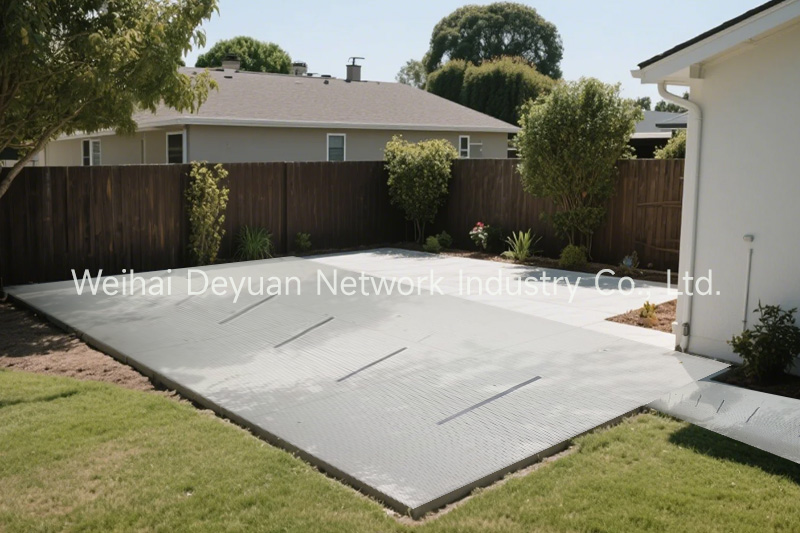
Step 2 – Install Drainage Holes If Required
Cleaning your concrete or paving is also a good opportunity to assess how well water drains off it.
If the water disappears without puddling, you can move onto the next step.
If it doesn’t, you’ll need to drill drainage holes where the puddles form using a 16mm drill bit. The holes can then be filled with 10mm shingle.
This will ensure you won’t have standing water after a downpour.
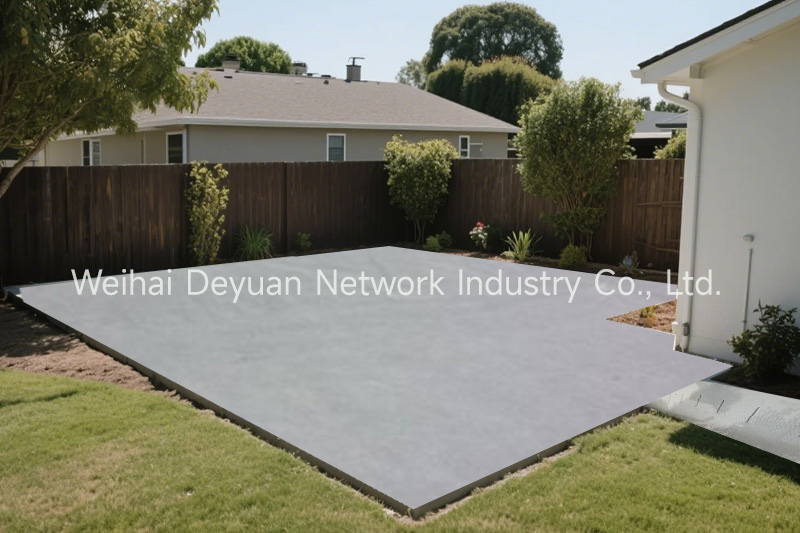
Step 3: Lay Weed-Proof Membrane
To prevent weeds from growing through your lawn, lay weed membrane to the entire lawn area, overlapping the edges to ensure weeds cannot penetrate between two pieces.
You can use galvanised U-pins to hold the membrane in place.
Tip: If weeds have been a significant issue, treat the area with weedkiller before laying the membrane.
Step 4: Install A 50mm Sub-Base
For the sub-base, you can use MOT Type 1 or if your garden suffers from poor drainage, we recommend using 10-12mm granite chippings.
Rake and level the aggregate to a depth of approximately 50mm.
It’s very important to ensure the sub-base is thoroughly compacted using a vibrating plate compactor which can also be hired from your local tool hire shop.
Step 5: Install A 25mm Laying Course
Granite Dust Laying Course
For the laying course, rake and level approximately 25mm of granite dust (grano) directly on top of the sub-base.
If using timber edging, the laying course should be levelled to the top of the timber.
Again, ensure this is thoroughly compacted with a vibrating plate compactor.
Tip: Spraying the granite dust lightly with water will help it bind and reduce dust.
Step 6: Install An Optional Second Weed-Membrane
For additional protection, lay a second weed-proof membrane layer on top of the granite dust.
Not only as extra protection against weeds but also as it helps to protect the underside of your Turf.
As with the first layer of weed membrane, overlap the edges to ensure weeds cannot penetrate between two pieces. Pin the membrane either to the edging or as close to it as possible and trim any excess.
It’s very important to ensure the membrane is laid flat as any ripples may be visible through your artificial grass.
NOTE: If you have a dog or pet that will be using your artificial lawn, we recommend that you DO NOT install this additional layer of membrane as it can potentially trap nasty odours from urine.
Step 7: Unroll & Position Your Turf
You’ll probably need some help at this point as, depending on the size of your artificial grass, it can be very heavy.
If possible, place the grass in position so that the pile direction is facing towards your house or main viewpoint as this tends to be the best side to view the grass from.
If you have two rolls of grass, ensure the pile direction is facing the same way on both pieces.
Tip: Allow the grass to settle for a few hours, ideally in the sun, to acclimatise before cutting.
Step 8: Cut and Shape Your Lawn
Using a sharp utility knife, trim your artificial grass neatly around edges and obstacles.
Blades can blunt quickly so replace blades regularly to maintain clean cuts.
Secure the boundary perimeter using galvanised nails if using timber edging, or galvanised U-pins, for steel, brick or sleeper edging.
You can glue your grass to a concrete edging using adhesive.
Step 9: Secure Any Joins
If done correctly, the joints should not be visible. Here’s how to join grass sections seamlessly:
First, position both grass pieces side-by-side, ensuring the fibres point the same way and the edges run parallel.
Fold both pieces back about 300mm to reveal the backing.
Carefully cut off three stitches from the edge of each piece to create a neat join.
Lay the pieces flat again to ensure the edges meet neatly with a consistent 1–2mm gap between each roll.
Fold the grass back again, exposing the backing.
Roll out your joining tape (shiny side down) along the seam and apply adhesive (Aquabond or 2-part adhesive) onto the tape.
Carefully fold the grass back into place, making sure grass fibres don’t touch or become trapped in the adhesive.
Apply gentle pressure along the seam to ensure proper adhesion. (Tip: Place unopened bags of kiln-dried sand along the join to help the adhesive bond better.)
Allow the adhesive to cure for 2–24 hours depending on weather conditions.
Post time: Apr-10-2025